Intro to Custom Audiences

Custom Audiences allow advertisers to create specific user groups that can be used for retargeting, exclusion, and/or expansion. Audiences can be generated via uploaded user Lists (1P & 3P data), App Activity, or Web Activity.
Overview
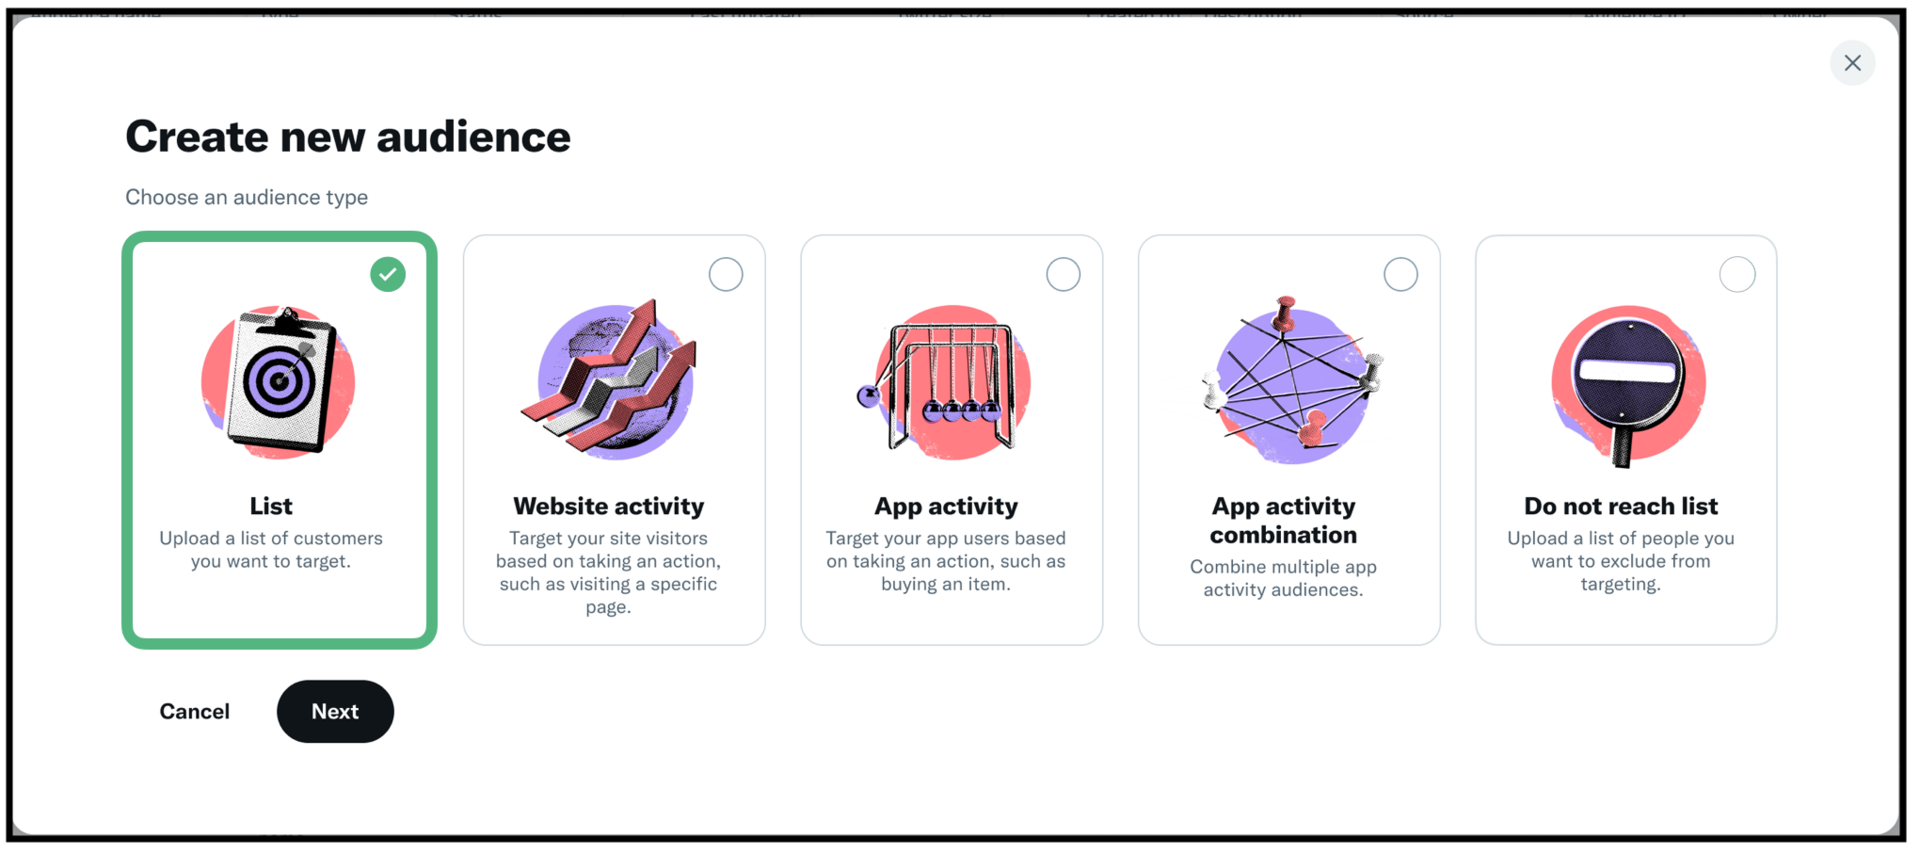
Custom Audiences allow you to leverage your off-platform customer information to create unique audience segments that can be used for targeting, exclusion, and lookalike expansion. There are 5 Custom Audience types:
- List Custom Audiences: Upload a file containing 1P or 3P customer data to be matched with @handles of active users on X. Learn more.
- Website Activity Custom Audiences: Powered by the X Pixel or Conversion API, people who have visited or taken a specific action on your website are matched with @handles of active users on X. Learn more.
- App Activity Custom Audiences: Based on mobile app events that are provided from a mobile tracking partner, people who downloaded or taken a specific action in your app are matched with @handles of active users on X. Learn more.
- App Activity Combination Custom Audiences: Layer multiple App Activity Audiences together to collect a more precise subset of people. Learn more.
Create your Custom Audience
To create a Custom Audience, visit the Audiences manager page via the “Tools” menu. Once on the Audiences page, click the “Create audience” button in the top right corner, then select the type of audience that you would like to create.


Depending on the type of audience that you intend to create, you will be given the opportunity to either upload list data or set specific activity parameters. Visit the help center page for your desired audience type to learn more about the creation process.
Not seeing the Tools tab in your ads account? You’ll need to add a credit card in order to unlock this functionality. Learn more.
Manage and use your audiences
To manage your existing Custom Audiences, return the Audiences manager page via the “Tools” menu. Here you'll see a table that includes each of your audiences. In line with each audience, you’ll also find the audience type, status, size, and description along with the dates on which it was created and last updated. You can scroll through this table or find specific audiences using the search bar or filter options above.
If you need to edit or delete an audience, hover on the three vertical dots on the right-hand side of the “Audience name” column.

Specific edit options will vary by audience type, but you will always have the ability to change the name and description. Additionally, all audiences can be deleted. Once an audience is deleted, it cannot be restored and can only be recreated.
Use your Custom Audiences
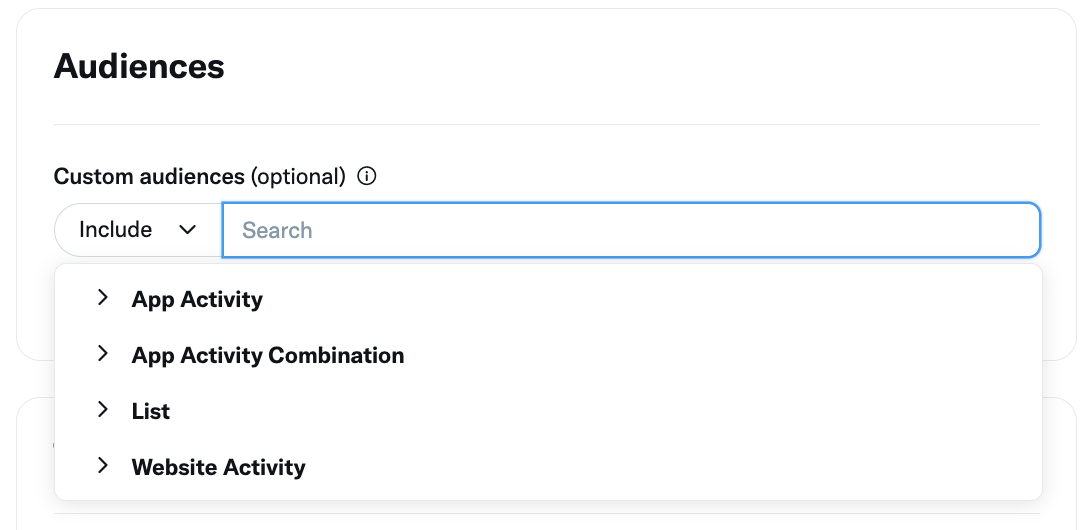
To target or exclude the people on your Custom Audiences, navigate to the Audiences module within the Targeting section of the campaign form.

Select whether you would like to include or exclude your audiences via the drop-down on the left-hand side of the search bar.
- Include: The people in your Custom Audience will be included in the targeted audience, and they will be eligible to receive the campaign’s ads as long as they meet the location, gender, age, and device targeting criteria.
- Exclude: The people in your Custom Audience will be excluded from the targeted audience, and they will NOT be eligible to receive the campaign’s ads - even if they meet the other targeting criteria.
After deciding to include or exclude, search or browse to find the specific audience that you want to select. As a reminder, only audiences that are marked the status “Ready” in Audiences manager are eligible to be used in campaigns.
To respect user privacy, the minimum size for a Custom Audience to be usable is 100 X users. If your Custom Audience is under 100 X users, it will display as "Audience too small" and will not be available for selection.
Once you’ve finished adding your Custom Audiences, complete the remaining campaign setup steps, and launch!
Frequently asked questions
In order to create Custom Audiences, the following elements are required:
Lists: Customer or CRM data that can be uploaded for matching (e.g. email addresses, phone numbers, X @handles, etc.)
Website Activity: Our online conversion tracking pixel, Conversion API, or one of our third-party tag managers must be configured on your website.
App Activity & App Activity Combination: You must have an account with one of our third-party mobile tracking partners.
More on our policies for Custom Audiences.
To respect user privacy, your Custom Audience must be at least 100 X users for it to be usable in your campaigns. CA's that fall short of this requirement will say “audience too small” in your Audiences tab, and cannot be used for campaign targeting.
Tips to increase your matched users:
- Lists: Add more user information to your .csv file and/or combine two smaller .csv files. Then, delete the "too small" CA from your Audiences tab and reupload the new, larger CA to reinitiate the matching process.
- Web Activity: Make sure your Web Pixel is correctly tracking, and your URL parameters for the CA are not too strict. The time it takes for your Web Activity audience to acquire 100 X users depends on your web traffic.
Very rarely. People on X are able to request their X Archive which includes information about why they were targeted with particular ads. As part of this data, if they were included in a Custom Audience, they may have visibility into the audiences that qualified them for an ad impression. While people very rarely request and download this report, you may want to keep this in mind when naming your Custom Audiences.
Additional reading
Ready to get started?
