Create a Website Traffic Campaign

Website traffic campaigns are optimized to drive visits to your website from posts targeted to specific audiences.
Setting Up Your Website Traffic Campaign
1. Log into your X Ads account
2. Click "Create Campaign" in the top-right corner of your Ads Manager
3. Choose "Website traffic" from the list of campaign objectives

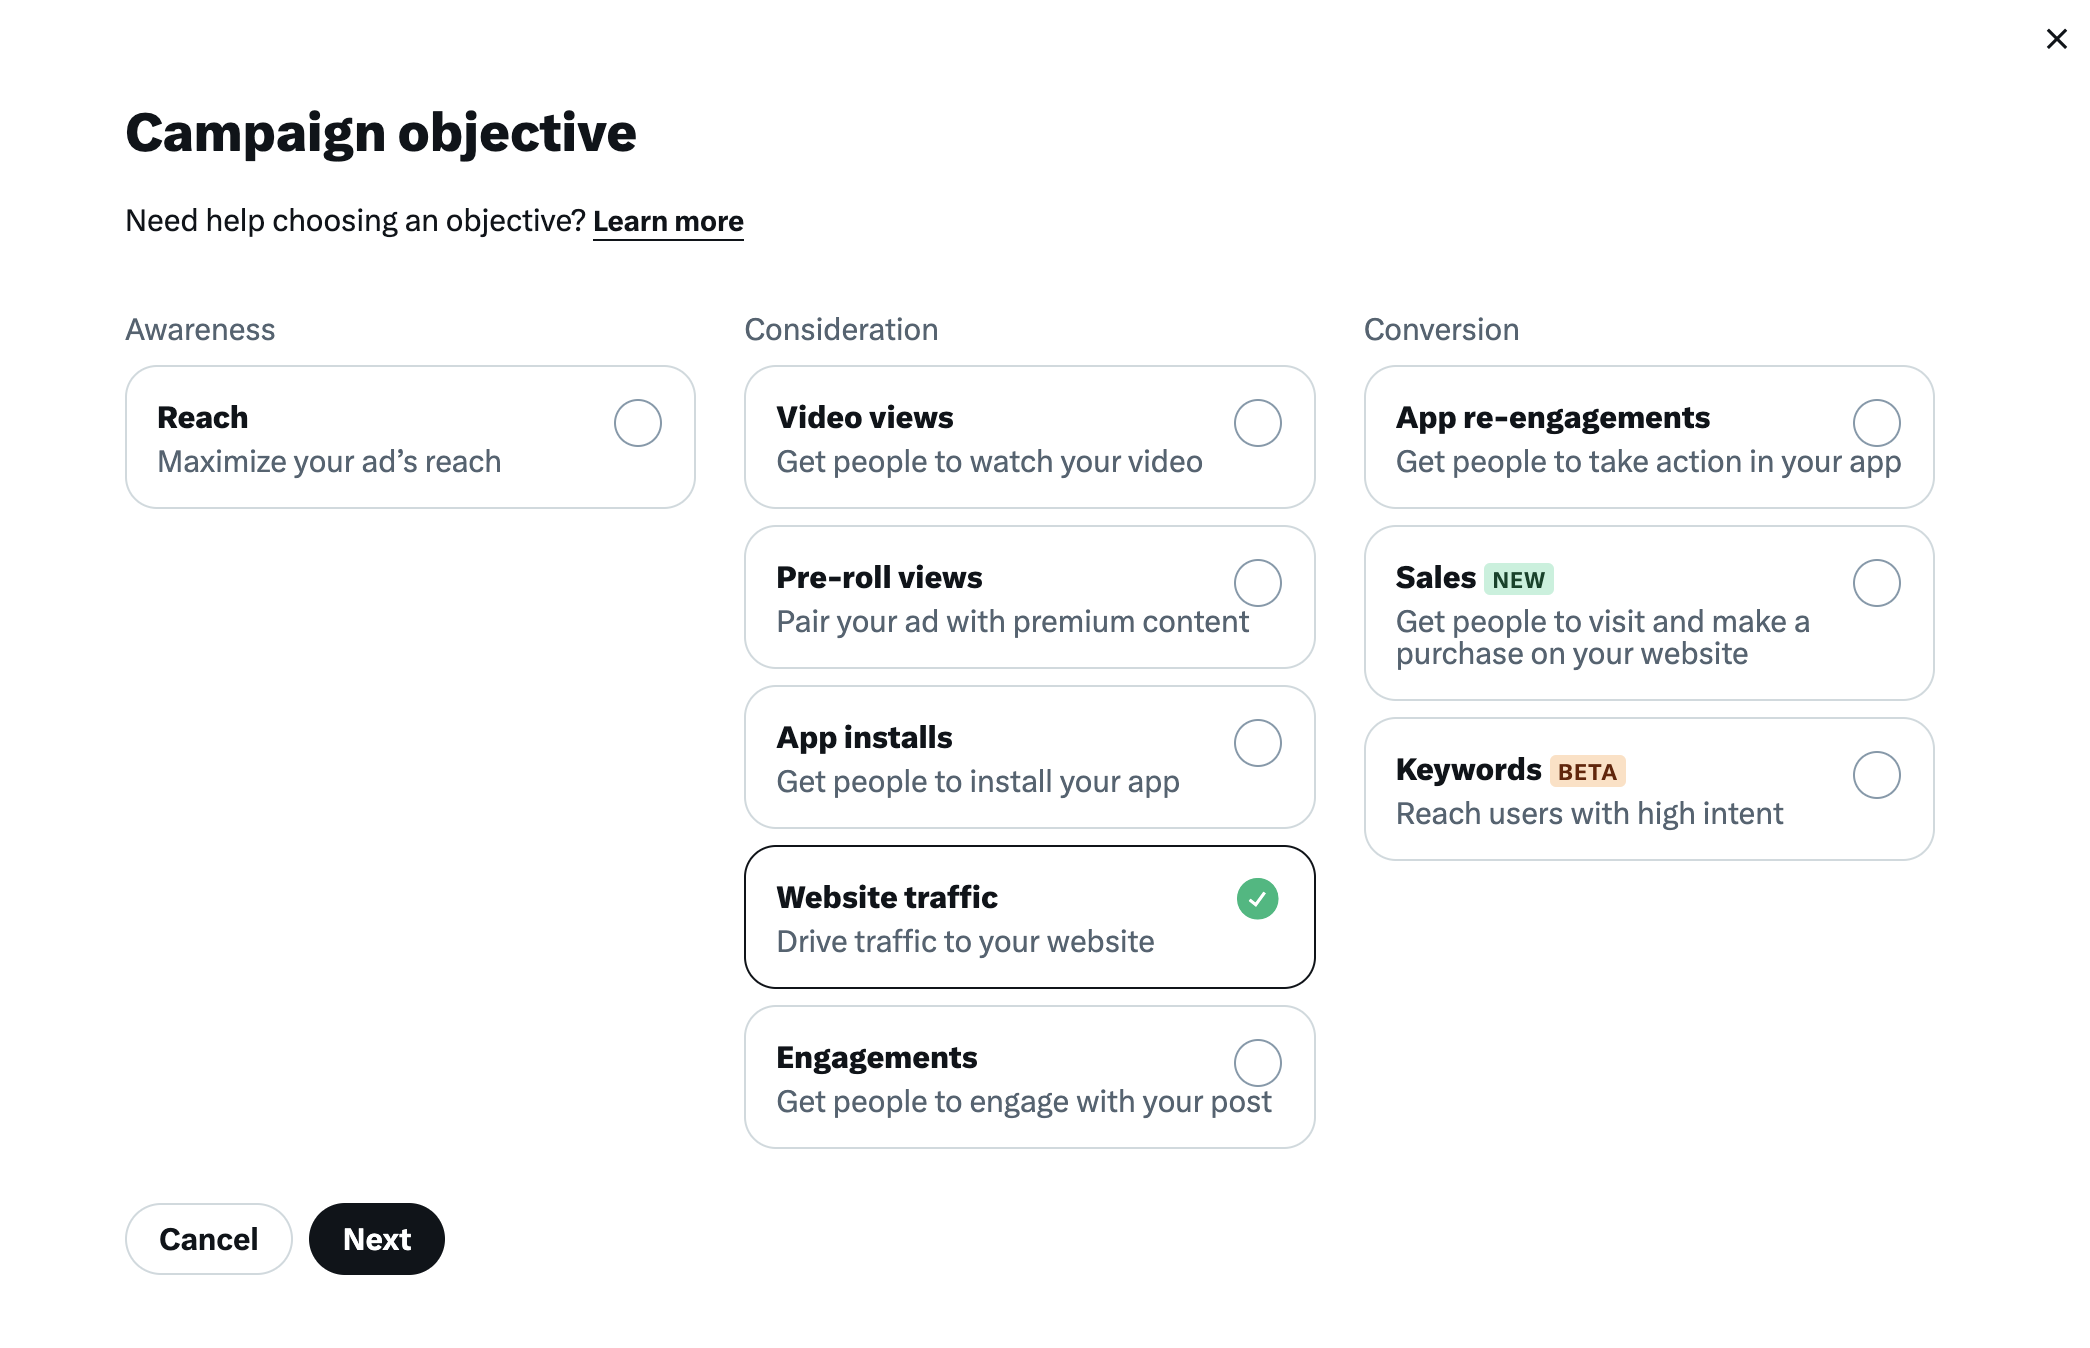
4. You'll be brought to the "Campaign details" tab in the campaign setup form. Here you will name your campaign, choose your funding source, toggle “campaign budget optimization” on or off and set up your campaign budget (if CBO is turned on).
5. Click "Next" and set up your ad groups. You can also set ad group start and end time (as well as daily budgets if CBO is turned off).
6. Select one of the ad group goals:
- Site Visits (recommended): Your ads will be shown to people most likely to visit your website.
- Link clicks: Your ads will be shown to people most likely to click on them.
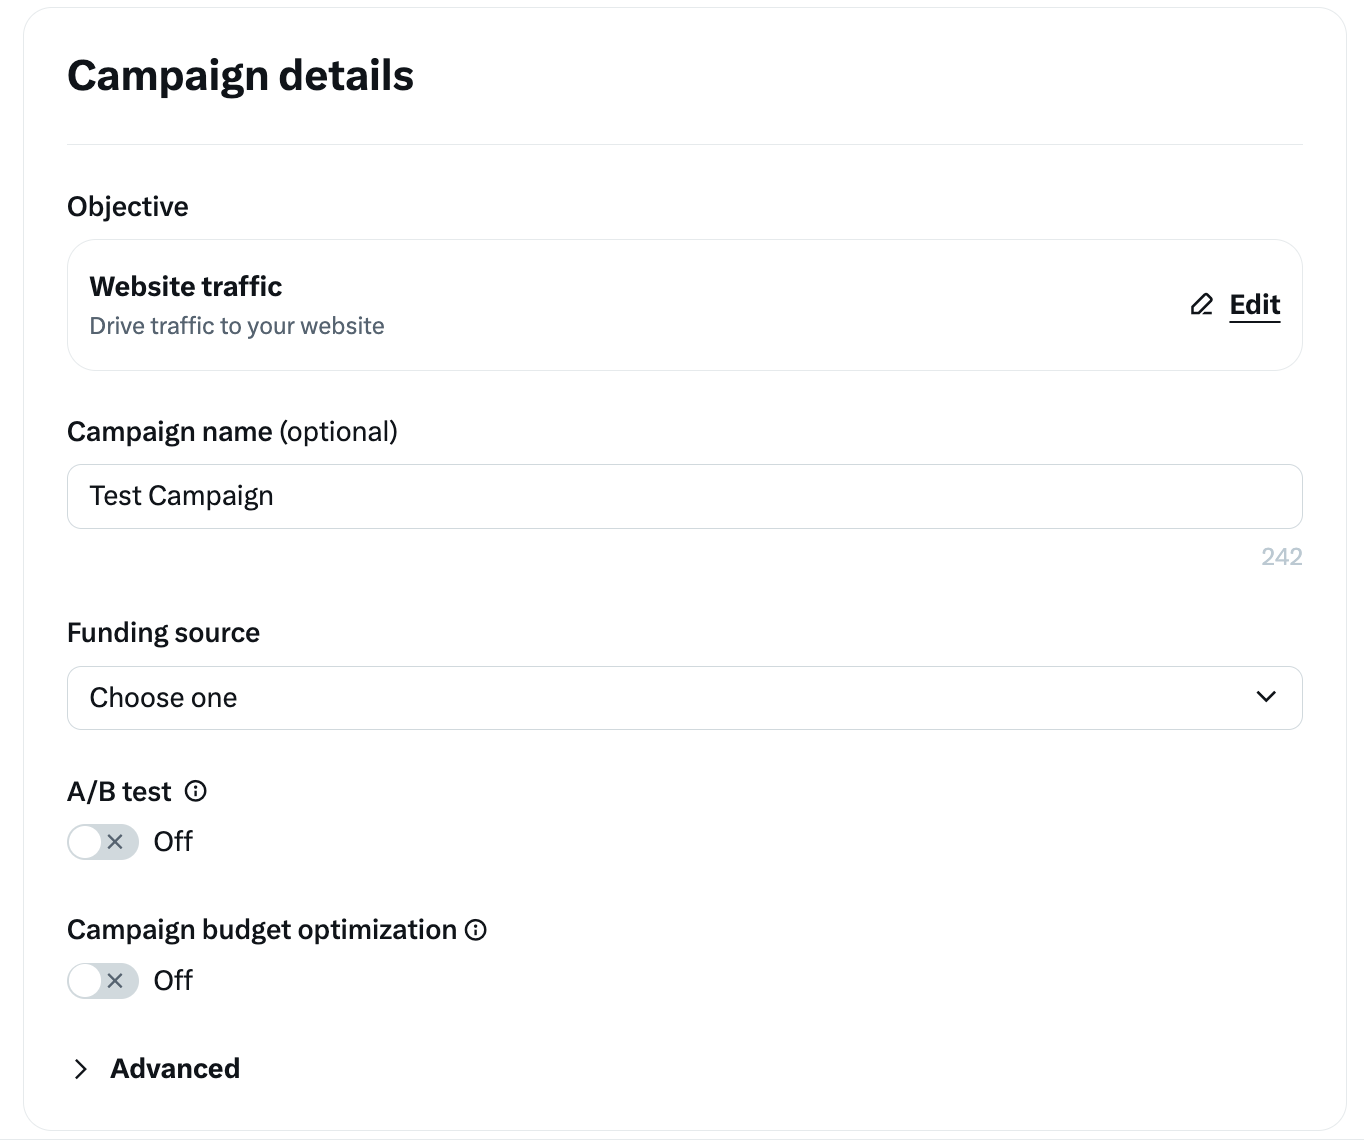
Note: For a Site Visits ad group goal, you will need to set up the X Pixel and create events for the action(s) you want us to prioritize. If you do not have these set up, the prompts within the Ads Manager interface will guide you to complete setup in Event Manager. See the FAQ for guidance on which website traffic event you should optimize for.
7. Select the bid type you'd like to use in your ad group:
- Autobid (recommended): Your bid will auto-optimize to get the best results at the lowest price (within your budget). Automatic bid is the easiest way to quickly get your campaigns live and serving impressions on the platform.
- Maximum bid: This bid type allows greater control over how much you bid per site visit or link click. Our system will work to keep your cost low, while staying within range of your bid. This bid type is helpful for experienced advertisers who know exactly how much they’re looking to pay per each site visit or link click at scale.
- Target cost: This bid type is only available on a link click goal. Your campaign will then auto-optimize your bids to achieve a daily average cost per link click that meets or beats your target. You will pay the actual average cost for all link clicks during the day. If you change your bid over the course of a day, it will average to the highest target cost you set.
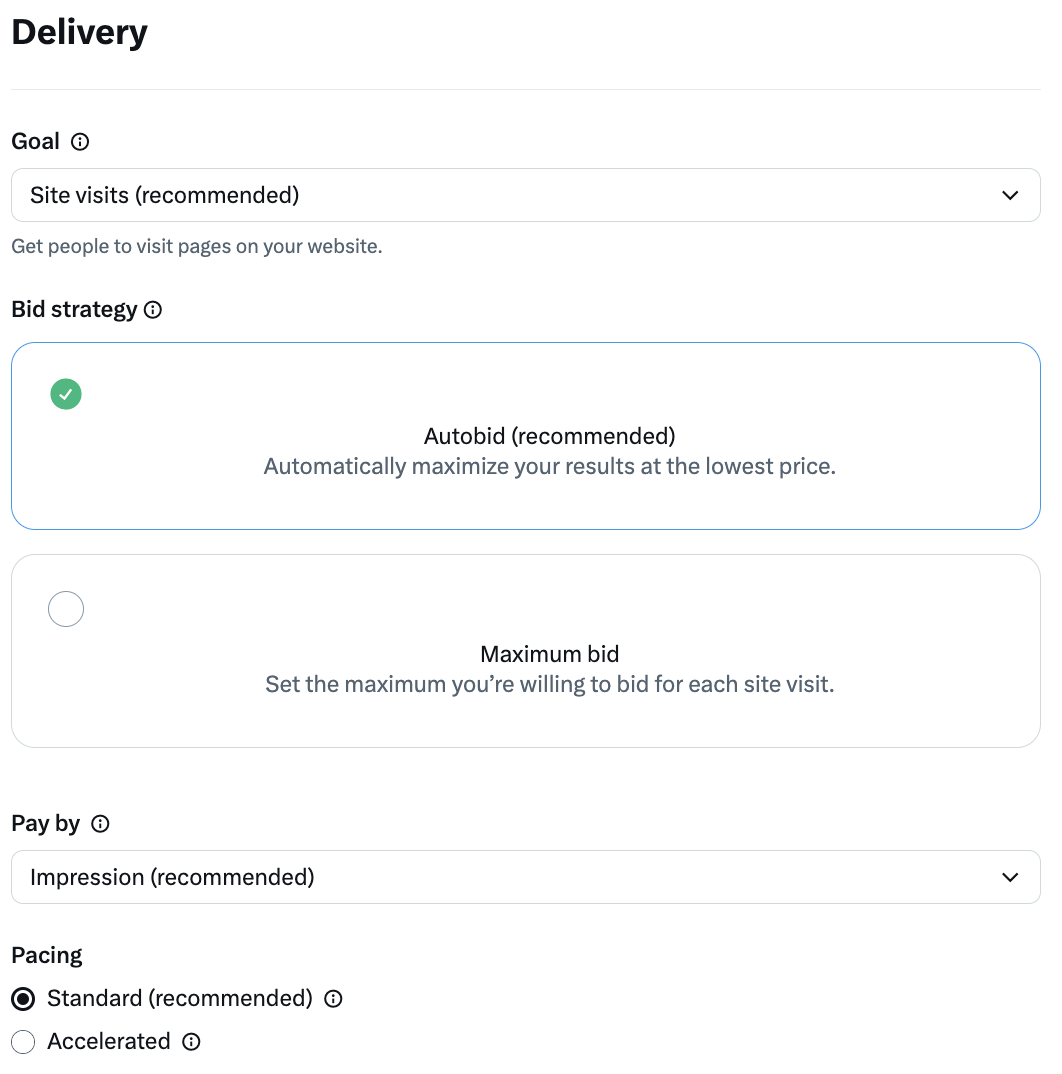
8. Select whether you wish to “Pay by Impressions” (the default option) or “Pay by Link Clicks.”
9. Select your desired targeting, the placements where you’d like your posts to appear, and apply any brand safety controls. Learn more about our targeting options.
10. Click "Next" and choose the posts you'd like in your campaign.
11. Review your final campaign setup on the "Review & Complete" tab.
12. Launch your website traffic campaign!
Serving Your Website Traffic Campaign
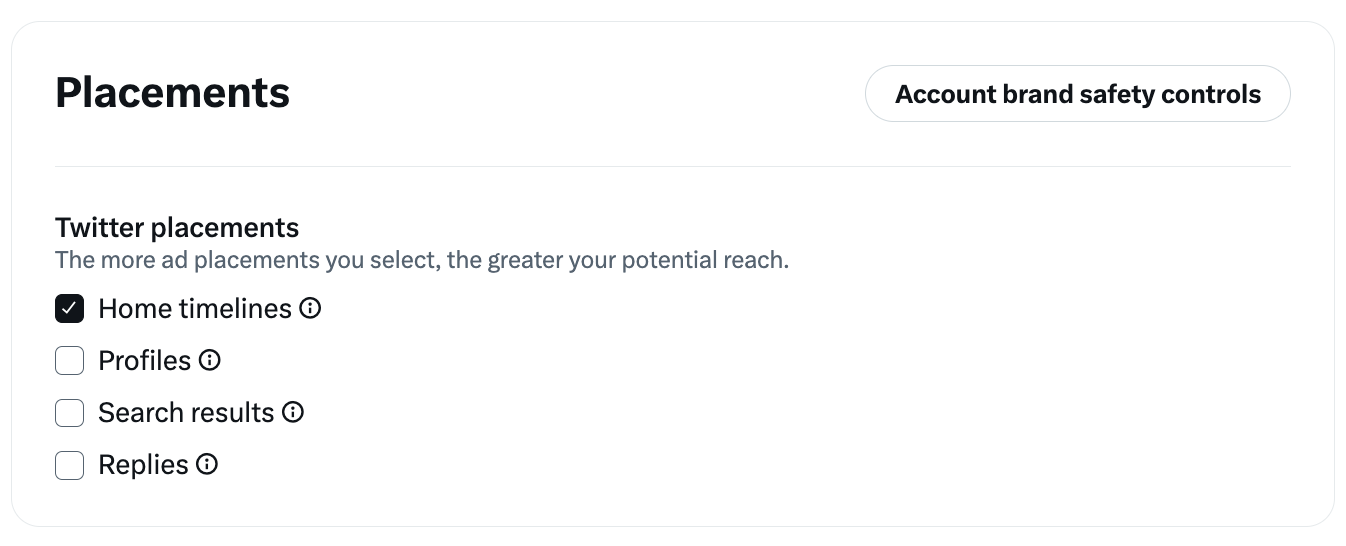
Posts in website traffic campaigns can be served in a number of locations:
- Home timelines: Promote posts on the timeline of the people you’re targeting. (Note that this cannot be deselected.)
- Profiles: Promote posts to people when they visit profiles.
Search Results: Promote posts in people’s search results.
- Replies: Promote posts to people when they view replies.
Viewing Your Results
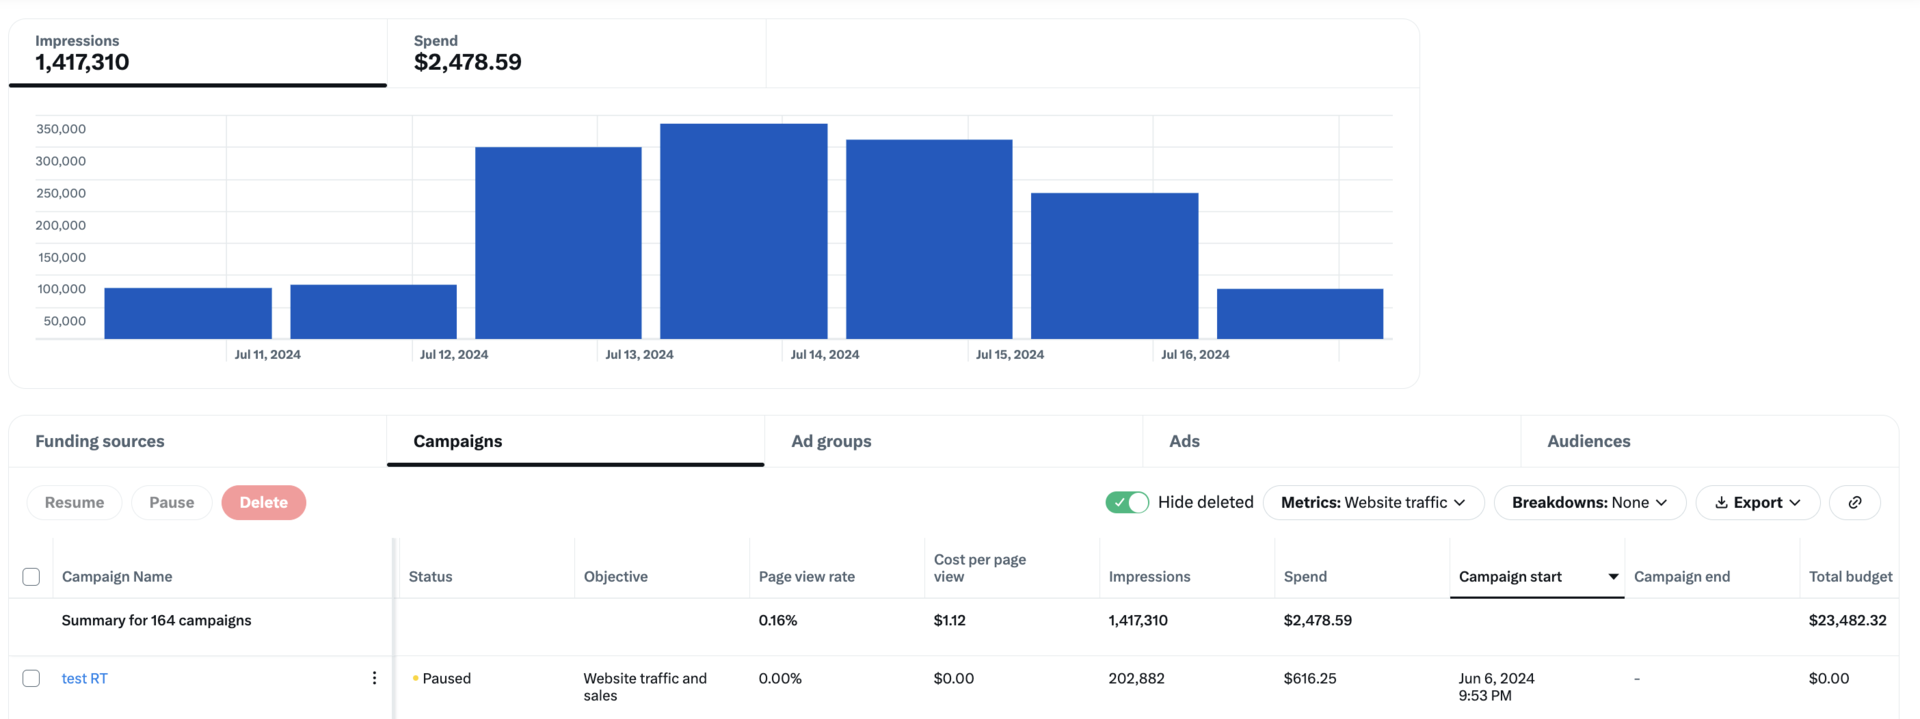
Navigate to Ads Manager to see your results. Filter the date range in the top right corner to see key metrics such as total spend, results (link clicks), cost per result (cost per link click), and result rate.
A link click is a click on the link in your ad.
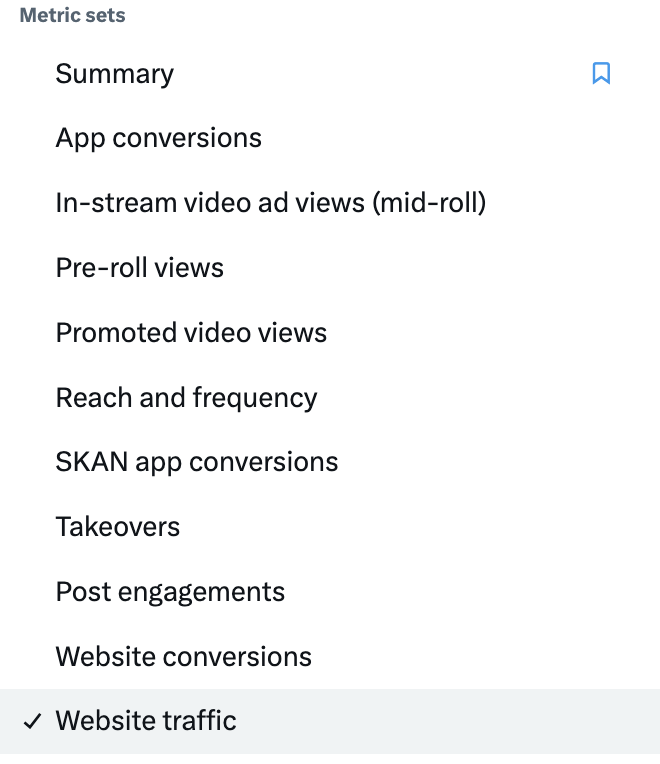
If your main conversion event metric is Page Views, you can select the pre-filled Website Traffic report to get a topline overview of results. You can also use ”Customize metrics” to select your preferred metrics (i.e., Site Visits, Landing Page Views, Page Views, etc.)
Frequently Asked Questions
With the website traffic objective, you can drive people to visit and/or take an action on your website. You can leverage X's unique data signals to target and retarget customers with these campaigns, which are optimized to deliver cost-efficient link clicks and site visits.
Select this objective when you're looking to directly drive users to your website. Before you get started:
• Define key performance indicators (KPIs). Identify the metrics that will determine whether the campaign is successful.
• Use those KPIs to calculate your bid. While we recommend at least starting with autobid, if you want more control over your cost, you can use your landing page conversion rates to back into your cost per link click (CPLC) or cost per site visit (CPSV) bids for both desktop and mobile campaigns.
• Set campaigns up for auction success. Auction performance is determined by two variables: bid and predicted engagement rate. In addition to setting a competitive bid, think about the ad message and the creative you’re using. Can you do anything to make it more engaging?
• Create a testing framework with multiple campaigns. Create several campaigns so you can quickly see which targeting and creative variables are driving results. Use this data to scale or pause campaigns.
To get the most out of website traffic campaigns, make sure you have X's online tracking products installed on your website. Using our conversion tracking for websites, you can measure the number of users who visit your website after viewing or engaging with your Promoted Ads.
To enable conversion tracking for web, create a X Pixel from your X Ads account. Then place the base code snippet across your entire website and implement conversions you wish to track—such as purchases and downloads – in relevant locations. The X Pixel doesn’t just report on conversions. It also allows you to remarket to recent visitors to your website, and lookalikes of those visitors, through custom audience targeting.
When setting up your website traffic campaign, you can select between auto, maximum, or target cost (link click goal only) as your bid type. We suggest selecting the autobid cost option. This provides our system with the most flexibility to find people across the platform that will likely result in the action you want them to take. You'll receive real-time bid guidance based on your targeting in your campaign setup. More on X Ads pricing.
Visit our conversion tracking page for detailed instructions on how to set up online conversion tracking pixels.
In the X Ads Manager, we're reporting on the number of times someone clicks on a link. This is logged as soon as the click action happens. However, site visit or landing page view refers to someone landing on your webpage and staying long enough for the page to load completely (triggering their analytics tracking code).
This is what drives the difference between the two numbers you are seeing. This can vary based on:
- Load time - for example, on slow cell networks, it may take longer for the link to request and page to load, so users may exit out before loading the website.
- Intent - users may click on an image but exit out when they realize a website is loading.
To improve these numbers, we recommend testing different creative formats, copy, CTAs, and refreshing creative every 2-3 weeks.
We recommend the following:
Auto-created Site Visits: You should consider selecting this when you want to maximize traffic to your website (all pages). We generally recommend leveraging this event when using Site Visit Optimization.
Auto-created Landing Page View: This should be used when you want to drive traffic to the click-through destination (i.e. landing page) of your ads, as opposed to driving traffic to the entirety of your website. This can be particularly useful for mid-funnel ads featuring a specific product and leading to a product details page.
Page View: This should be selected when you want to drive traffic to some subset of your website as defined by URL matching rules.
We aggregate conversions at the Campaign and Ad Group levels for audiences who have opted out of iOS tracking; however, these users are not included at the Ad level.
Ready to get started?
